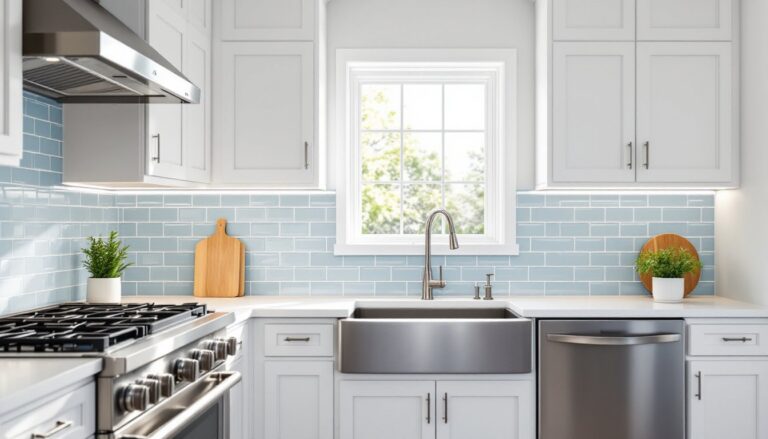
That awkward gap between your kitchen cabinets and ceiling isn’t just collecting dust, it’s prime real estate for adding personality, visual interest, and polish to one of the busiest rooms in the home. While some homeowners ignore this space entirely, others see it as a chance to extend their design story upward without breaking the budget or sacrificing function. Whether working with a compact galley kitchen or wide-open space with high ceilings, decorating above kitchen cabinets can pull together a room’s aesthetic, draw the eye upward, and even solve storage challenges in creative ways.
Table of Contents
ToggleKey Takeaways
- Decorating above kitchen cabinets draws the eye upward and creates visual balance between cabinetry and ceiling, preventing dead zones and making standard ceilings feel taller.
- Before decorating above kitchen cabinets, measure vertical clearance (12-24 inches is typical), consider weight limits on cabinet tops, and choose easy-to-clean materials like glazed ceramics or sealed wood.
- Greenery, baskets, vintage pottery, and carefully arranged books or art add personality and texture—layering items in varying heights and grouping odd numbers creates dynamic, cohesive displays.
- Modern and minimalist kitchens benefit from restraint: single statement pieces, monochromatic palettes, or extending cabinets to the ceiling eliminate visual clutter while maintaining clean lines.
- Practical concerns like dust accumulation, safe ladder access, and plant drainage should guide your styling choices to ensure the space remains functional and low-maintenance over time.
Why Decorating Above Kitchen Cabinets Makes a Difference
Upper cabinet space often becomes an afterthought during kitchen design, yet it plays a surprisingly influential role in the room’s overall feel. Leaving this area bare can make cabinets look disconnected from the ceiling, creating visual dead zones that shrink the perceived height of the space.
When thoughtfully styled, the zone above cabinets acts as a visual bridge between cabinetry and ceiling. It pulls the eye upward, emphasizing vertical space and making standard 8-foot ceilings feel taller. In kitchens with 9- or 10-foot ceilings, decorating above kitchen cabinets with high ceilings prevents the room from feeling cavernous or unfinished.
Beyond aesthetics, this space offers practical advantages. Items that are decorative but rarely handled, seasonal serveware, vintage cookware collections, heirloom pottery, can live here without cluttering countertops or interior cabinet shelves. It’s a way to display personality without sacrificing daily function.
That said, not every kitchen benefits from upper decoration. Modern, minimalist designs often favor clean lines and unadorned surfaces. Kitchens with soffits or bulkheads may lack the clearance needed for safe, proportionate styling. The key is matching the approach to the architecture and the homeowner’s tolerance for occasional dusting.
Essential Considerations Before You Start Decorating
Before hauling out a step ladder and armloads of decor, a few practical checkpoints help avoid frustration later.
Dust and Maintenance: Upper surfaces accumulate grease vapor, cooking residue, and airborne dust faster than most other areas. Items placed here will need periodic cleaning. Smooth, wipeable surfaces like glazed ceramics or sealed wood are easier to maintain than fabric, wicker, or porous materials. If cleaning above cabinets sounds unappealing, simpler arrangements or leaving the space bare may be the better call.
Weight and Stability: Cabinet tops aren’t structural surfaces. Most frameless or semi-frameless cabinets have thin plywood or particleboard tops not designed to bear heavy loads. Oversized pottery, large framed art, or stacks of heavy books can bow or damage cabinet tops over time. Keep items lightweight and distribute weight across the surface rather than concentrating it in one spot.
Access and Safety: Reaching items 7 to 10 feet off the floor requires a sturdy step ladder, not a wobbly chair. If someone in the household struggles with ladders or balance, keeping decor minimal, or skipping it entirely, is the smarter choice. Objects placed too close to the edge can fall during cleaning or earthquakes in seismic zones.
Measuring Your Space and Ceiling Height
Accurate measurements prevent proportion mistakes that make decor look shrunken or crammed.
Use a tape measure to record the vertical clearance from cabinet top to ceiling. In most homes, this ranges from 12 to 24 inches. Anything under 12 inches is tight and limits options to low-profile items like flat baskets or single stems in bud vases. Clearances of 18 inches or more open the door to taller arrangements, stacked objects, or trailing plants.
Next, measure the cabinet depth front-to-back. Standard upper cabinets run 12 to 13 inches deep (actual dimensions, not nominal). Decor that extends beyond the front edge creates a top-heavy look and blocks sightlines. Items should generally sit 2 to 3 inches back from the cabinet face.
Finally, note the cabinet width. Long, unbroken runs benefit from groupings of varied heights and scales rather than identical items spaced evenly like soldiers. Shorter cabinet sections call for simpler, singular focal points.
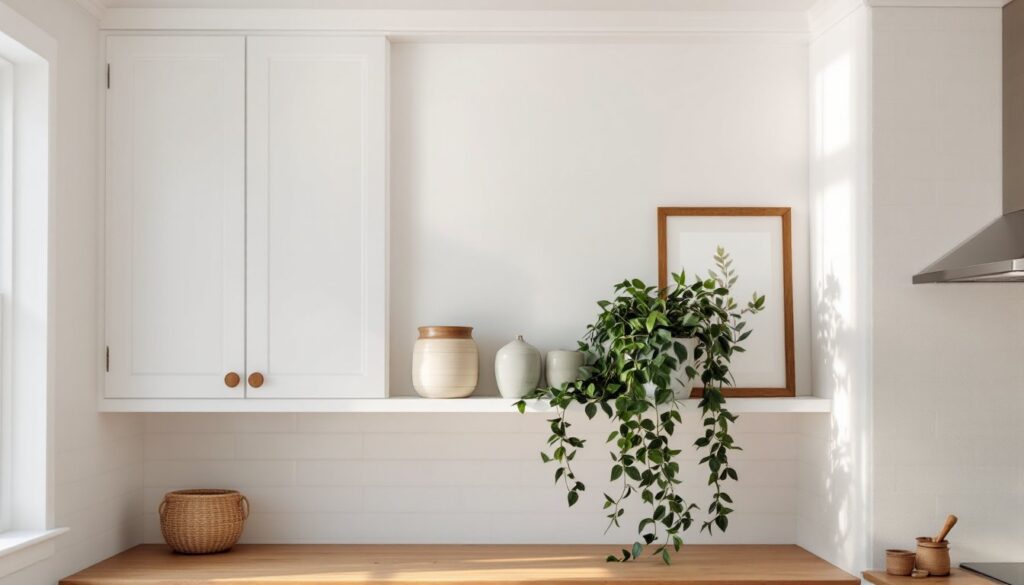
Greenery and Plants: Bringing Life to Upper Cabinet Space
Greenery softens hard kitchen lines and introduces organic texture that contrasts nicely with sleek cabinetry. But real plants above cabinets come with practical challenges.
Faux Plants: High-quality artificial stems, trailing vines, or potted boxwood topiaries deliver the visual without the watering hassle. Look for UV-resistant materials if skylights or windows cast direct sun on the area. Wipe leaves monthly with a damp microfiber cloth to prevent dust buildup.
Low-Light Tolerant Real Plants: If natural light reaches the cabinet tops, think south-facing windows or skylights, pothos, philodendron, or snake plants can thrive. Use lightweight plastic or resin pots rather than heavy ceramic to minimize weight load. Set pots on cork pads or felt furniture coasters to protect cabinet finishes from moisture rings.
Drainage is the main headache. Watering plants 8 feet up risks drips onto cabinet faces, floors, or anyone standing below. Self-watering pots or cache pots with removable liners allow safe watering at floor level, then repositioning once excess moisture drains.
Trailing plants like string-of-pearls or ivy add soft, cascading lines that break up boxy cabinet geometry. Anchor pots securely toward the back of the cabinet to prevent forward tipping as vines grow.
For kitchens with minimal natural light, incorporating ideas for decorating above kitchen cabinets with faux stems alongside other decor elements creates a balanced look without the maintenance burden.
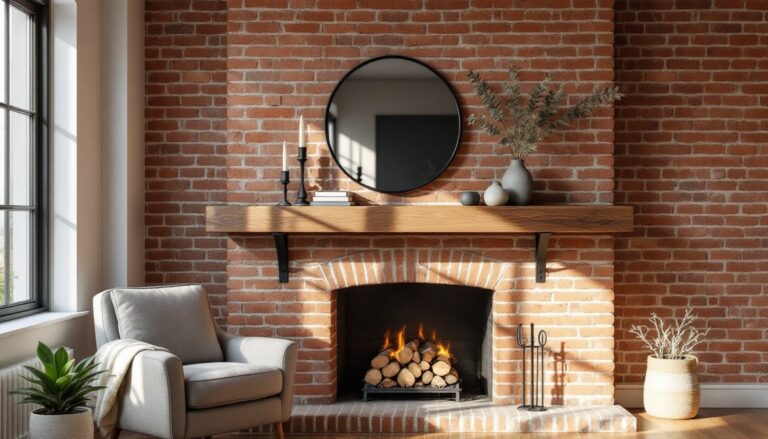
Baskets, Pottery, and Vintage Finds for Rustic Charm
Textured, handcrafted objects bring warmth and character to kitchens leaning farmhouse, cottage, or eclectic.
Baskets: Woven baskets in varying sizes and materials, seagrass, rattan, wire, add dimension and neutral tones. Stack two or three baskets of graduated sizes, or line several identical baskets end-to-end across a long cabinet run. Baskets with handles offer easy removal for cleaning. Avoid overly ornate or brightly dyed baskets that clash with cabinetry finishes.
Pottery and Crocks: Vintage stoneware crocks, earthenware jugs, or hand-thrown pottery pieces anchor displays with heft and history. Mixing glaze colors, cream, cobalt, celadon, adds visual interest without feeling chaotic. Group odd numbers (three or five pieces) for more dynamic compositions.
Vintage Finds: Antique scales, enamelware, wooden dough bowls, or galvanized metal containers nod to kitchen heritage. Scour estate sales, flea markets, or online marketplaces for pieces with patina and character. Clean items thoroughly before display, old kitchen tools can harbor grease or food residue.
Layering is key. Place taller items toward the back, shorter or wider pieces in front. Vary heights and shapes to avoid a flat, lineup effect. Leave breathing room between groupings so each piece registers individually rather than blending into visual clutter.
Many homeowners find inspiration in simple transformations that layer textures and vintage elements to create cohesive, personalized spaces.
Displaying Books, Art, and Decorative Objects
Books and art lend an unexpected, curated feel to upper cabinet styling, especially in open-plan kitchens that blend into living or dining areas.
Books: Hardcover cookbooks with attractive spines or covers work beautifully stacked horizontally in groups of two to four. Vintage books with decorative bindings add color and nostalgia. Keep stacks low and stable: tall towers become top-heavy and difficult to retrieve. If books are purely decorative and won’t be referenced often, this is a practical spot to showcase collections without taking up shelf space elsewhere.
Framed Art and Prints: Small- to medium-scale framed pieces, botanical prints, vintage advertisements, abstract works, lean casually against the wall or hang from removable adhesive hooks rated for the frame weight. Leaning art creates a relaxed, gallery-like vibe. Use felt pads on frame backs to prevent scratches on cabinet tops. Avoid large, heavy frames: they’re awkward to secure and pose a falling hazard.
Decorative Objects: Sculptural pieces, candle holders, or objets d’art add personality. Choose items that tie into the kitchen’s color palette or material story, brass candlesticks in a warm-toned kitchen, white ceramic vases in a Scandinavian-inspired space. Avoid tchotchkes or overly themed decor (roosters, wine bottles) unless they genuinely reflect the homeowner’s taste.
Balance is critical. Too many small objects create visual noise: too few large pieces feel heavy. Aim for a mix of scales and textures, and step back periodically to assess proportion from the main sightlines in the room.
Kitchen design experts at The Kitchn often recommend using upper spaces for collections that tell a story, blending function with personal history.
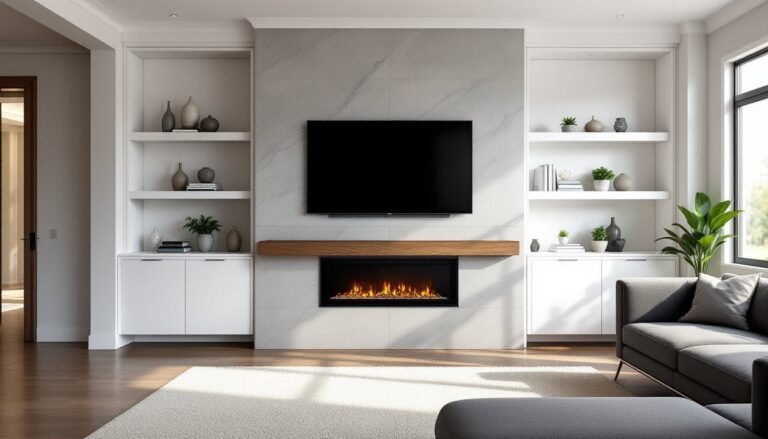
Keeping It Clean: Minimalist and Modern Approaches
Not every kitchen calls for abundant decor. Modern and contemporary designs often prioritize clean lines, negative space, and restraint. Knowing what to put on top of kitchen cabinets modern means understanding when less truly is more.
Monochromatic Palettes: Stick to a single color family, all white ceramics, all black vessels, all natural wood. This creates visual calm and prevents the display from competing with cabinetry, countertops, or backsplash.
Single Statement Pieces: One large sculptural vase, a single oversized bowl, or a long horizontal vessel can anchor the space without clutter. This approach works especially well in smaller kitchens or those with limited cabinet runs.
Symmetry and Repetition: Repeating identical objects at regular intervals, three matching canisters, five identical bottles, creates rhythm and order. This technique suits modern aesthetics where uniformity and geometry dominate.
Closing the Gap: In some cases, the best decor choice is eliminating the space entirely. Closing space above kitchen cabinets with custom soffits, crown molding buildouts, or stacked cabinetry (extending cabinets to the ceiling) creates a sleek, built-in look. This often requires a carpenter or custom cabinet shop, but it eliminates dust traps and the need for ongoing styling.
For a DIY soffit enclosure, frame out the void with 2×2 lumber, sheath with ½-inch drywall, tape and mud seams, then paint to match the ceiling. This is cosmetic work, not structural, but it does require basic carpentry skills, a drywall saw, drill, and finishing tools. Total material cost typically runs $100 to $300 depending on linear footage and paint quality.
Homeowners exploring how to decorate above kitchen cabinets modern often find that restraint and intentional empty space create the strongest visual impact. Budget transformations featured on Addicted 2 Decorating demonstrate how strategic editing and a few well-chosen pieces outperform overcrowded displays.
Lighting Considerations: Installing LED strip lighting or puck lights atop cabinets highlights decor while adding ambient glow. Low-voltage LED strips are DIY-friendly and safe, but ensure adequate ventilation if placing lights near wood or fabric decor.
Eventually, what to put above kitchen cabinets depends on the room’s architecture, the homeowner’s style, and their willingness to maintain the space. Thoughtful placement of a few well-chosen items beats haphazard clutter every time. For ongoing inspiration and practical room makeovers that balance style with real-life function, resources like Young House Love offer project walkthroughs that show the evolution of design choices over time.
Whether filling the space with greenery, rustic finds, or keeping it spare and modern, the goal is the same: make the kitchen feel complete from floor to ceiling, with every design decision, even 8 feet up, pulling its weight.